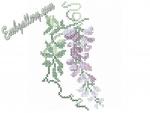
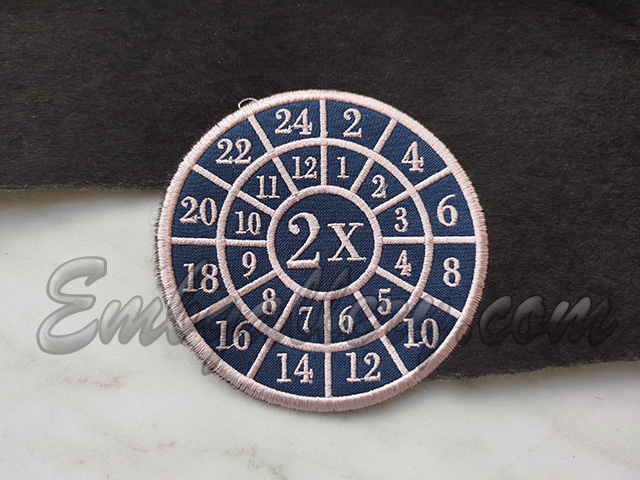
In-the-Hoop Embroidery Project "A Patch"
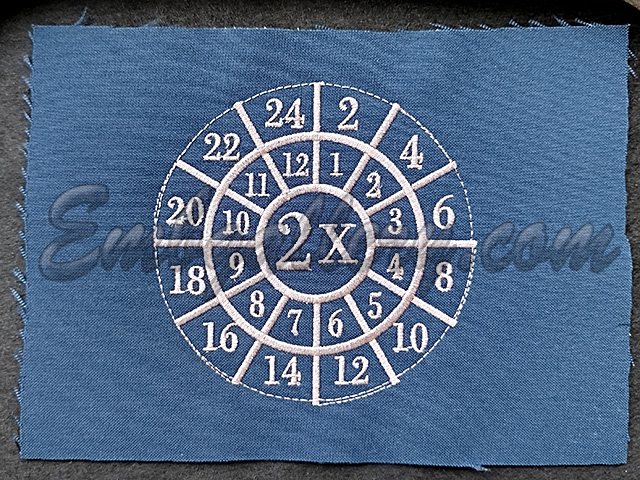
 To embroider such double faced design from "Times Table Set" isn't just easy, it's very easy. That will be shown to you in this short article.
Click on the picture to enlarge
The technology is demonstrated by example of embroidering a patch from the Set "Times Table", but you can made in the same way other similar designs, for example, "Snowflake" or "Smiley".
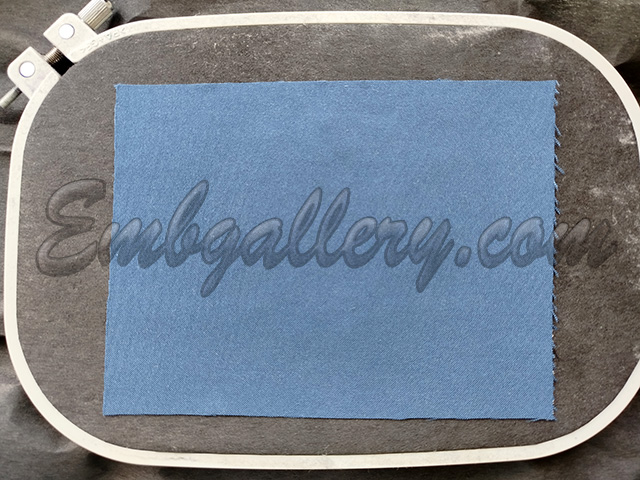
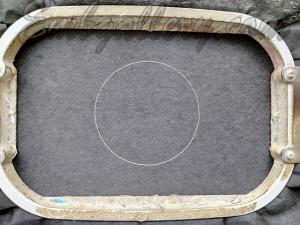 Place in hoop thick tear-away stabilizer (I used the one 80 g/m thickness). Embroider the first color of the design - a line, it is showing the place to stick a piece of fabric, that will become a background of the patch.
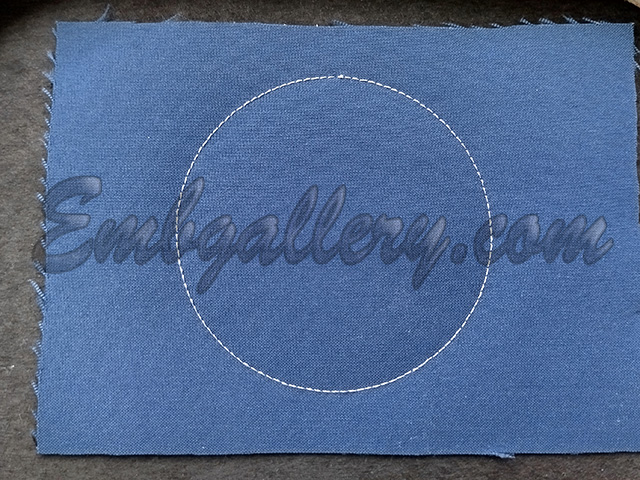 Put over embroidered line a piece of fabric little more size than the circle marked with this line. Turn back to the first color and embroider it once more. The fabric will become attached to the stabilizer.
 Embroider the second color of the design.
 Carefully pull out hoop from the machine, stick with textile glue a piece of fabric from the back side as you can see in this photo. The piece should be little more size than the circle of the patch like you have done at the step 2. Return hoop into machine. Embroider the third color - the line. It will attach the back side piece of fabric.
 Carefully pull out hoop from the machine not pulling out stabilizer from the hoop. Cut off the fabric outside the patch as close to the line as you can, both from the top
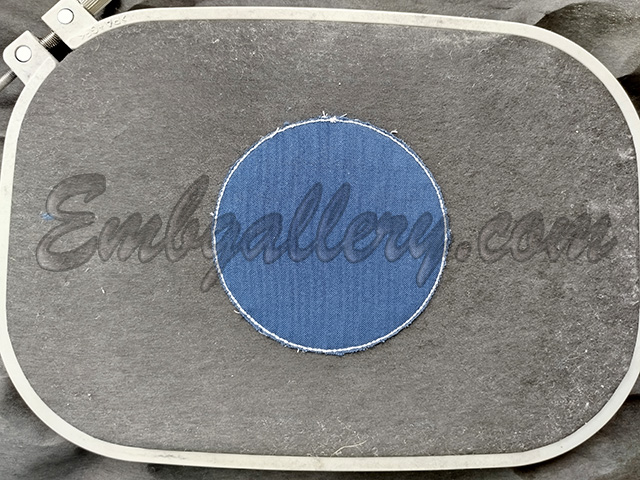 and from the bottom.
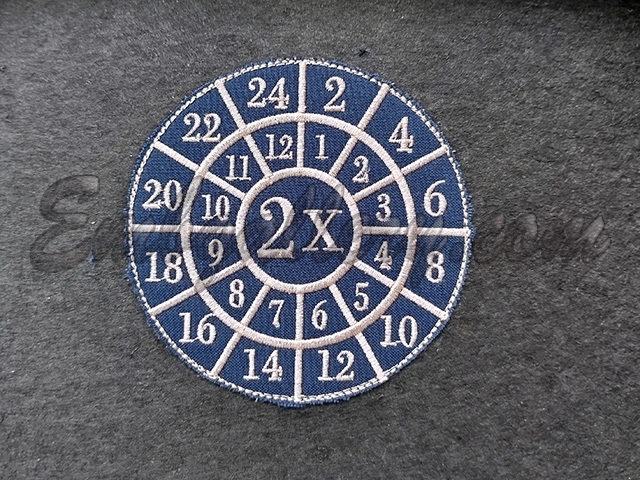
 Embroider the last, the fourth color of the program. It is an edging. Pull out the ready embroidery from the hoop and tear off the stabilizer. Thin fibers can stay at the edge, delete them with the help of a lighter or a soldering iron. Iron the ready patch. Enjoy!