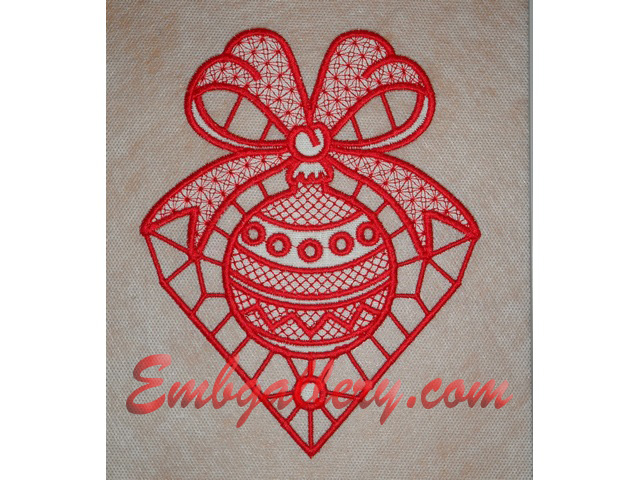
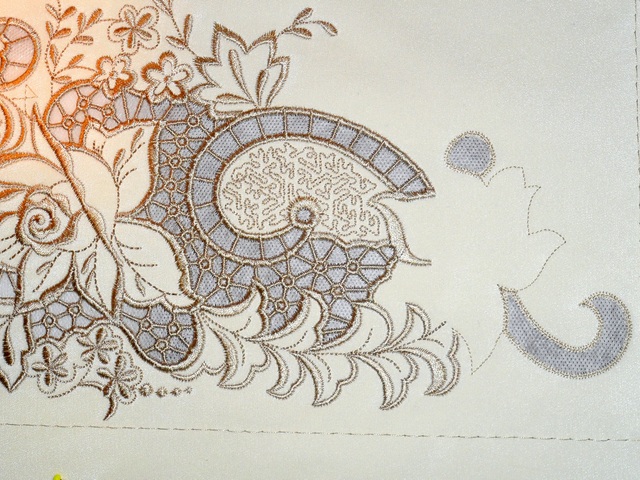
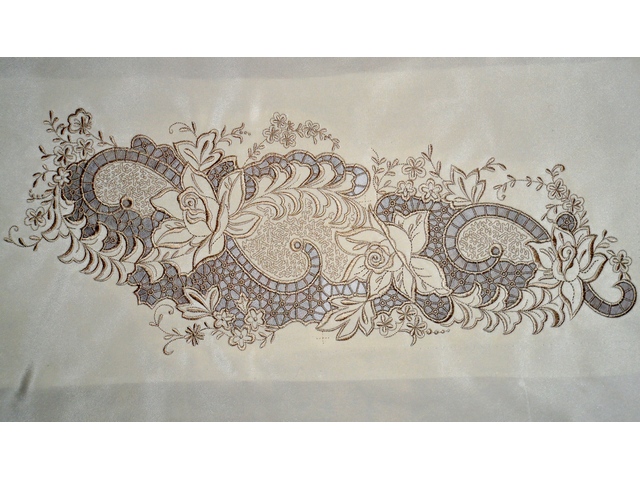
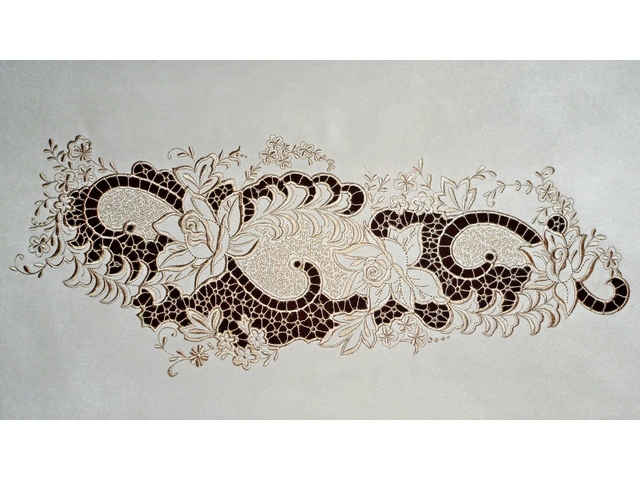
How to embroider a Richelieu Design
 In this Master Class we'll tell you about how to embroider in Richelieu technique. And we'll do that on the example of an amazing set of Designs "Charm".
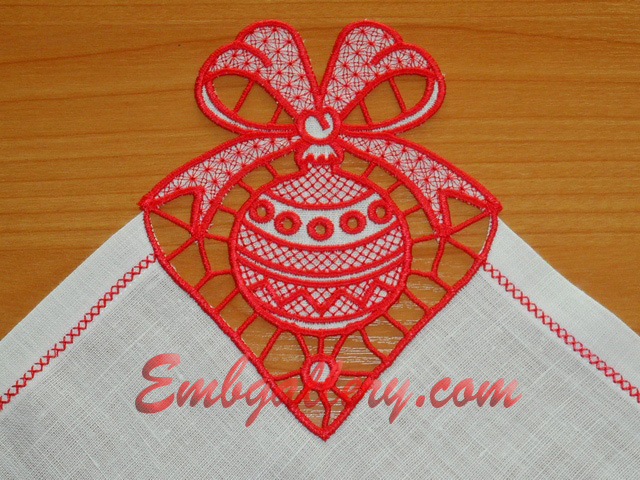
The embroidered motif will be perfect for the front of a blouse.
If your machine's hoops are not that large, the analogical set will suits you "Charm"_Richelieu for small hoops. The embroidery technology will remain the same (as the one described below), but the number of parts and alignments will increase.
Well, let's begin.
The Design should be embroidered with a tread of 1 colour (the changing colours is only for stopping the machine for cutting). It's recommended to duplicate the fabric with sticky tear-away stabilizer.
 Before embroidering the first part of the Design А015_1 you should insert water-soluble stabilizer (just the stabilizer without any fabric).
 Put the fabric on the hoops with the inserted water-soluble stabilizer on the top and pin pins by the hoops' perimeter. Insert the hoops into the embroidery unit and pave the basting stitch at the edge of the Design. (There is no such stitch in the Design, there is an opportunity of it's embroidery in some embroidery machines or otherwise you need a special Design. There is an opportunity of adding such stitch in the embroidery editor Embird).
 Embroider the first colour.
 Cut the fabric inside of the closed area, near the stitch (as near as possible) and don't touch the water-soluble stabilizer.
 Embroider the second colour.
 Cut the fabric inside of the closed area, near the stitch (as near as possible) and don't touch the water-soluble stabilizer.
 Embroider the third colour.
 Cut the fabric inside of the closed area, near the stitch (as near as possible) and don't touch the water-soluble stabilizer.
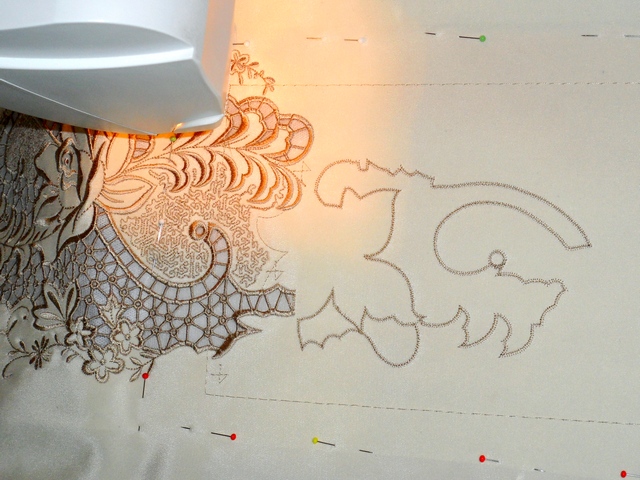
 Embroider the last fourth colour of the first Design - А015_1 - along with aligning crosses.
 Insert the water-soluble stabilizer into the hoops and embroider the first colour (aligning crosses) of the second part - А015_2.
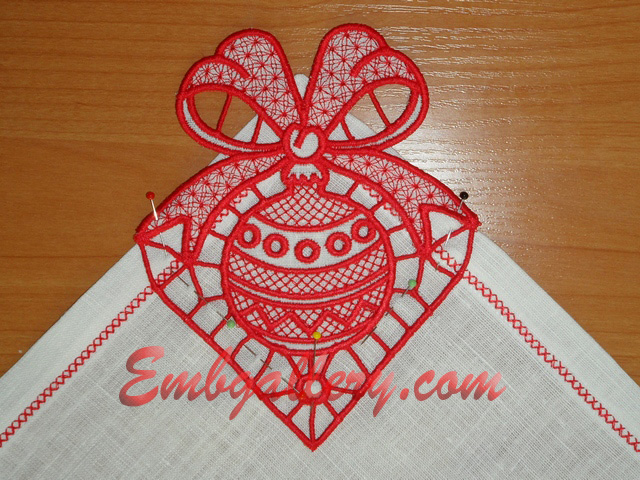
 Pull the hoops out of the embroidery unit and put on the smooth soft surface (a sofa, a rug). Put the fabric with embroidered first part and match the aligning crosses with the help of pins, punching through into the soft surface.
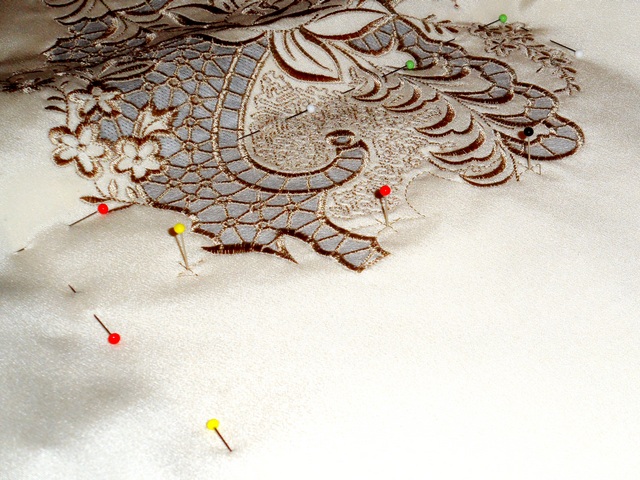 Pin both layers together with pins by the hoops' perimeter.
 Check the alignment of crosses without embroidering, going back stitch by stitch. After the checking you may rip out the middle aligning cross.
 Embroider the second colour of the second part А015_2.
 Cut the fabric inside of the closed area, near the stitch (as near as possible) and don't touch the water-soluble stabilizer.
 Embroider the third colour.
 Cut the fabric inside of the closed area, near the stitch (as near as possible) and don't touch the water-soluble stabilizer.
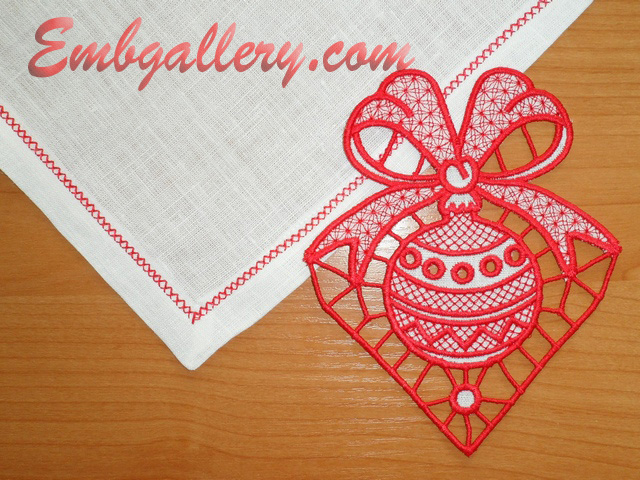
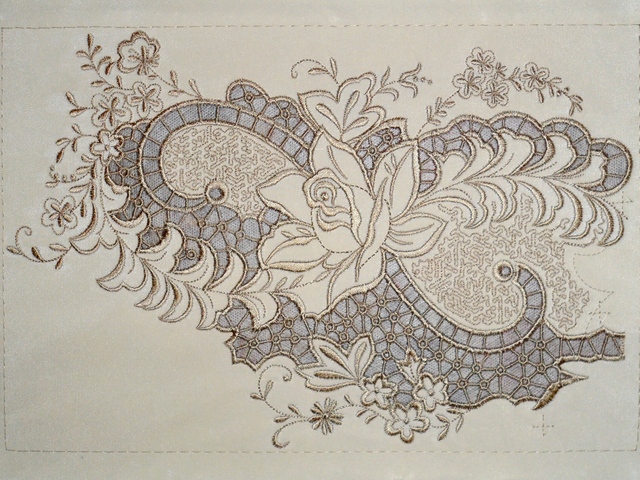
 Embroider the last 4th colour. Rinse your embroidery in the water for washing away the water-soluble stabilizer.
 Dry and iron it. And it's ready!