"Cloth case bag stitch-out tutorial"
 It’s absolutely not hard to embroider such a cloth case bag though at first sight it may seem pretty bothersome. We really hope this guide will make the process easier for you.
You can buy machine embroidery designs for your cloth case bag from our web-site here.
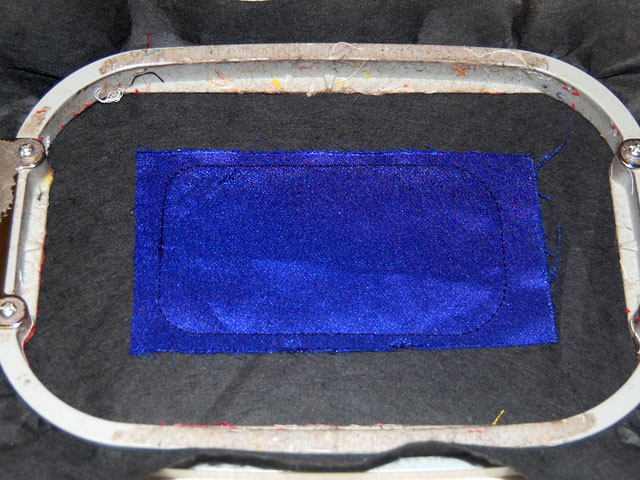 Step. 1 Hoop a thick tear-away or cut-away stabilizer. It will also make your case bag more rigid. Stitch out the first color of the chosen design (refer to file marked _1) Stop an embroidery machine and put a fabric sized a little more than the placement area above the stabilizer. This fabric is your case bag basement fabric. In case you choose a cross-stitch two color thread design, you should choose the fabric’s color thoroughly, as it will be shown through. Now embroider the first color again to fasten the fabric to the stabilizer. Stitch out next three colors of your design and stop the machine.
 Step 2.Take the hoops away. Stretch some material across the back of the embroidery. It is the lining fabric of your case bag. You can glue them together with the help of fabric glue or a glue stick. Try to choose a non-slip fabric to avoid the cell phone slipping out of your case bag. Both outer and inner fabrics can be also dressed with Vlieseline to make the finished case bag even more rigid.
Step3. Now stitch out the last design color, zig-zag stitches. It fastens the lining fabric to the outer fabric and marks the trimming line. Take the fabric out of the hoops and neatly cut off the lower part of the case bag as close to the zig-zag outline as possible. Put the detail aside for a while.
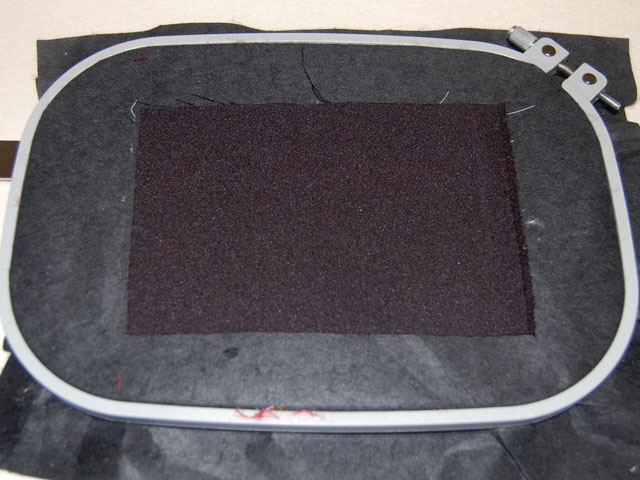
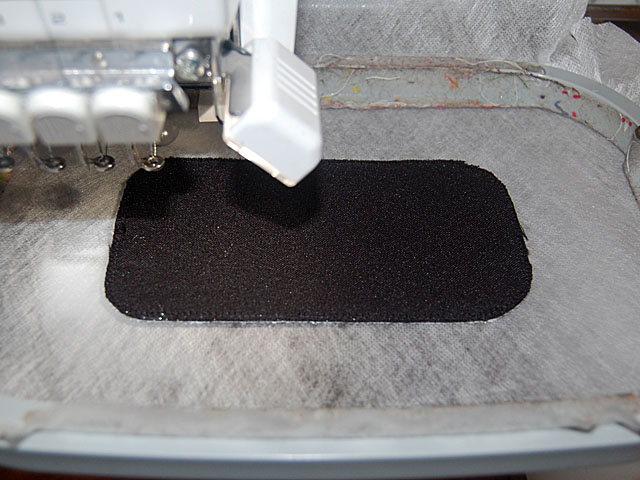
 Step 4. Hoop a thick tear-away or water-soluble stabilizer. A 80g/m tear-away stabilizer can be used for embroidering exactly on it (you can see it in the picture). Then you can easily tear it away with almost no remains. If you don’t have such stabilizer you may substitute it with a water-soluble one.
Stitch out the first design color of the cloth case bag upper part (refer to file marked _2) Repeat Steps 1 and 2. Stop the machine. Don’t take the fabric out of the hoops, but cut away the outer and lining fabrics along the top edge of your future case bag as close to the zig-zag outline as possible (remember to do the same on the inner side of the stitch-out!). Insert the hoops into machine and stitch out the last color which is the frame of the top of the cloth case bag upper part. Remove the fabric from the hoops and cut off the stitch-out along the three other edges.
So, the parts of your cloth case bag are ready. Now you only have to join them together.
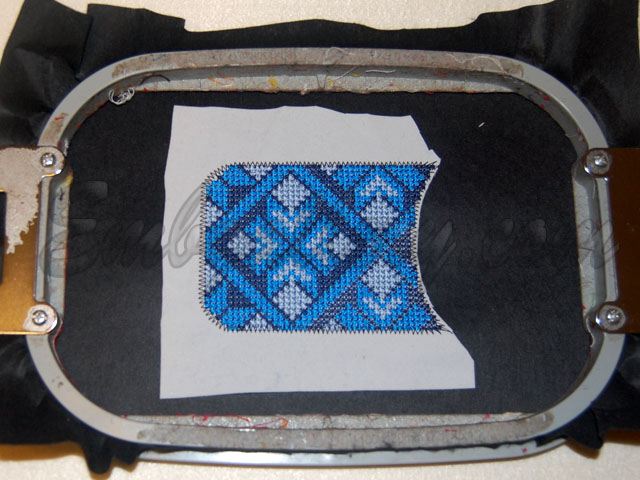
 Step 5. Hoop a think tear away or water soluble stabilizer. Stitch out the first color of the frame design (refer to file marked _3). Take the hoops out of the machine and place the lower part of the case bag exactly along the seamed area face side down. Fasten it with any of described methods. You may use fabric glue but be sure that it won’t leave any traces. Stitch out the first color one more time to fasten the upper part of the case bag to the stabilizer tightly. Put the second part of the case bag face side up. Combine the parts thoroughly and fasten them together for some time. Insert the hoops and stitch out the first design color for the third time to fasten the upper part as tightly as possible. If some details haven’t been combined well do not hesitate to unstitch the fixing seam and recombine the parts over again!
 Step 6. Then insert a thread into a spool. It is very important that the thread color must fit together with the frame thread color! Stitch out the second design color, the frame itself. As the thickness is big the embroidery machine can make abanging noise.
Step 7.Take the fabric out of the hoops. If you used a tear-out stabilizer tear it away along the edges of the case bag and from the lower part. If you used a water-soluble stabilizer cut it neatly close to the edges and remover the remains with a wet sponge.
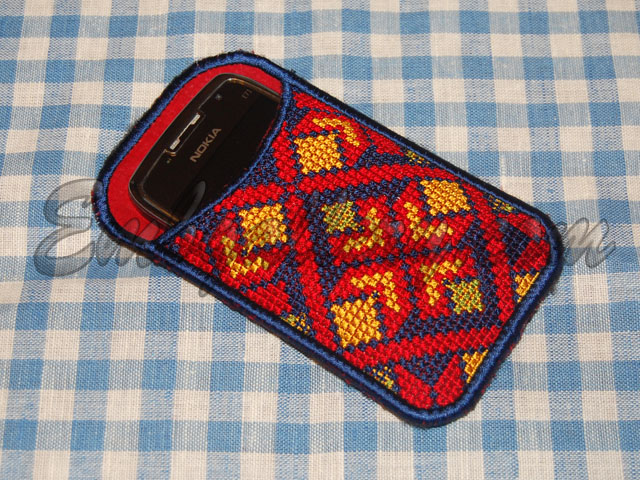 And Bob’s your uncle - the cloth case bag is finished!