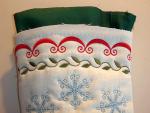
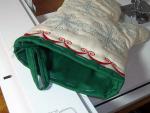
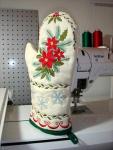
Kitchen Mitten (In-the-Hoop Project)
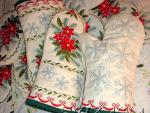 In this master class you will learn how to correctly embroider and sew this Kitchen Mitten.
Warning! This technique requires hoop 180x300 or larger!
Click on the picture to see an enlargement
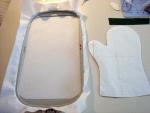 Hoop one layer of tear-away stabilizer.
Print the files "mitten-shape-1.jpg", "mitten-shape-2.jpg", сut out the template.
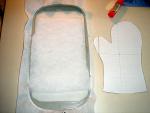 Cover and slightly glue the stabilizer with a piece of padding polyester, batting, or any other filling.
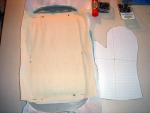 Place the basic fabriq on top of it. Secure with pins, outside of the embroidery area.
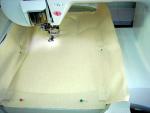 Upload the file "mitten-1a" into your machine. Start embroidering.
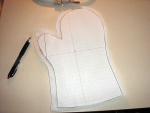 Take the embroidery out of the hoop. Cover the embroidery with the template and with a pencil, trace the outlines of the thumb.
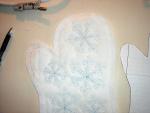 Cut away the detail with a seam allowance 1,5 cm. Press the embroidery.
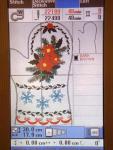 Hoop one layer of tear-away stabilizer, cover the stabilizer with a piece of padding polyester, place the basic fabriq on top of it. Upload the file "mitten" into your machine. Start embroidering.
While do not embroider the last color of the design.
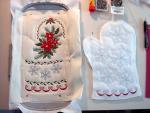 Take the hoop out of the machine.
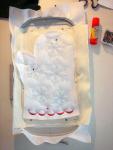 Cover the embroidery with the first detail of the mitten face to face. Align outlines and pin the details together. Do not open the hoop and try not to displace the stabilizer.
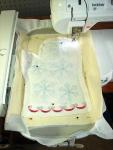 Return the hoop to the machine and finish the embroidery. The machine will make the outline of the mitten and stop. Make sure the details are not shifted. With the help of scissors or large needle lightly press down the fabric in front stitch.
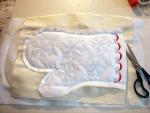 Take the embroidery out of the hoop. Stitch the details together along the outline of the thumb. Cut away the excess stabilizer and filling. Press embroidery.
While not turn the mitten out.
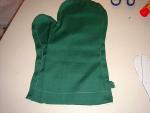 Cuts out of the lining fabric two details (use the same template). Reserve seam allowance at the top edge to outline mitten. Stitch. Place lining part of the mitten on the basic part and attach with hand stitches in several places along seams.
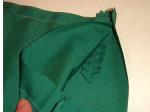 You can make a loop. Insert the loop between the parts lining before stitching.

