Creating a Border in Embird Program
 Very often embroiderers face a situation when they have to embroider a certain design as a bordure on the bottom of a dress for a beloved daughter. You can embroider it many times rehooping the fabric every time or multiply it in the embroidery machine's memory. But there is one more elegant way out is a feature of Embird program which will allow you to create a border out of any design you like by yourself.
If you don't have this program yet or you're not ready to purchase it right away, you can download and install its demo version for free, which will allow you to use this program within 30 days. You can do that here: Download installation files and Embird installation instructions (click on the link with the left mouse button).
Click on the picture to enlarge
 Open the design you like in Embird program. Go to Edit to create a bordure.
 First of all, pick the right size of hoops.
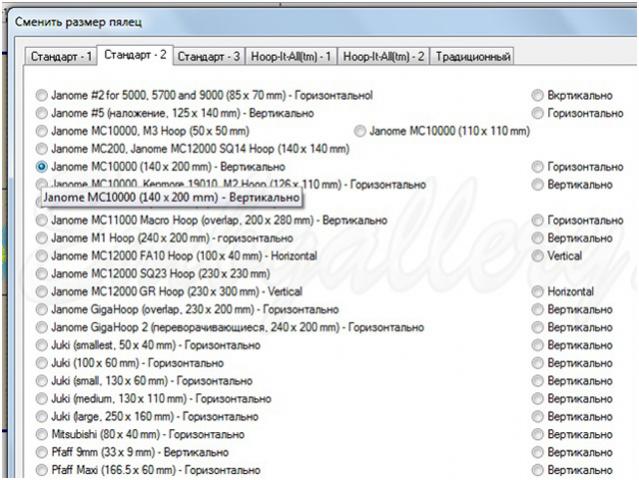 For instance 140х200 hoops for Janome machines.
 Hoops are vertical, that's why turn the design so it'll be situated along the hoops.
 Move the design to the edge of hoops with a mouse.
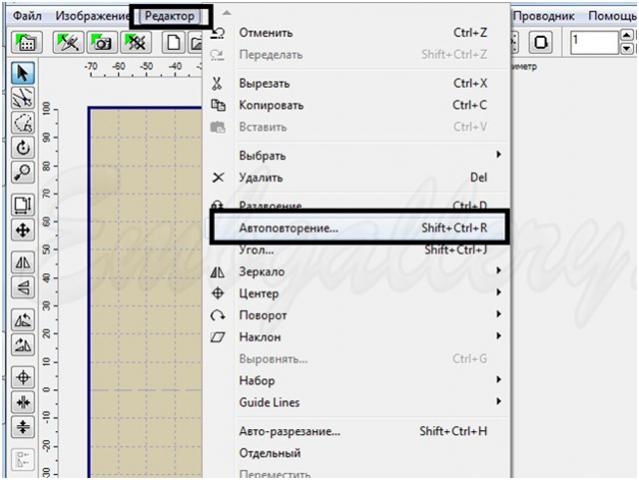 Open "Edit" menu on the top panel, click on the "Auto repetition" line.
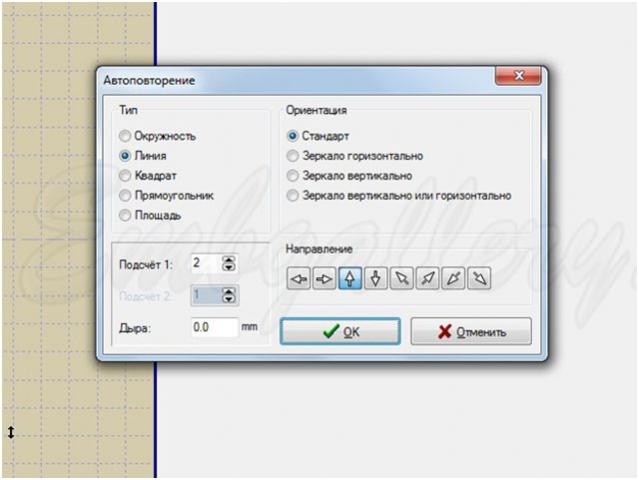 A window in which you can state the view of a future bordure will be opened. You can get loads of different variations by changing settings in this window. In our case we pick the "line' type. State that fragments of the border will be embroidered separately (standard). Define how many times the design should be repeated in the "Counting" window. Window with a strange name "Whole" defines how many millimeters should be between the design's fragments. If you need a continuous border leave a "0". Indicate a direction in which the program should add designs. In our case it's an up arrow.
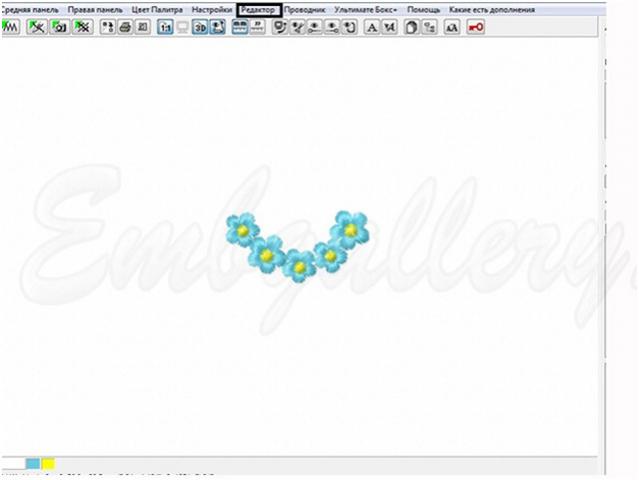
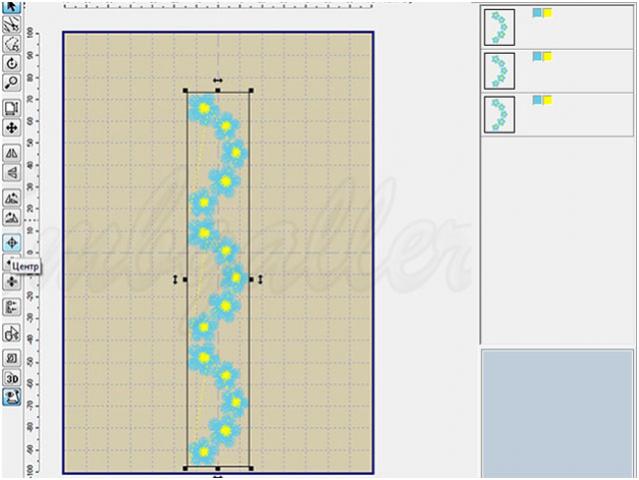 The program creates a line of 3 designs.
 Press Ctrl+A on your keyboard so to select all text and click on "Connection" on the top panel.
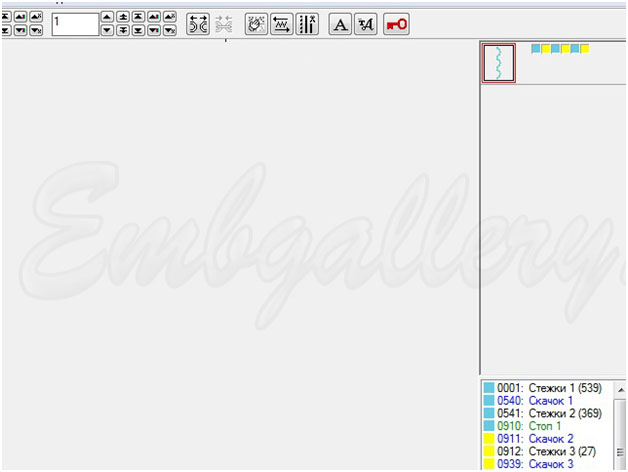 Now the bordure is an unified design, but if you look through the list of colours, you'll see that there are only two colours, but despite that threads need to be changed rather often.
 Let's try to reduce the number of colour changes. Click with the right mouse button on the design icon and find the line "Sort the colour" in the opened menu.
 The program will offer you to think over one more time, because such editing is contraindicated for complicated multicoloured designs. We have a simple border so we can bravely click "Yes". We don't need a differ in the next window, so we just agree.
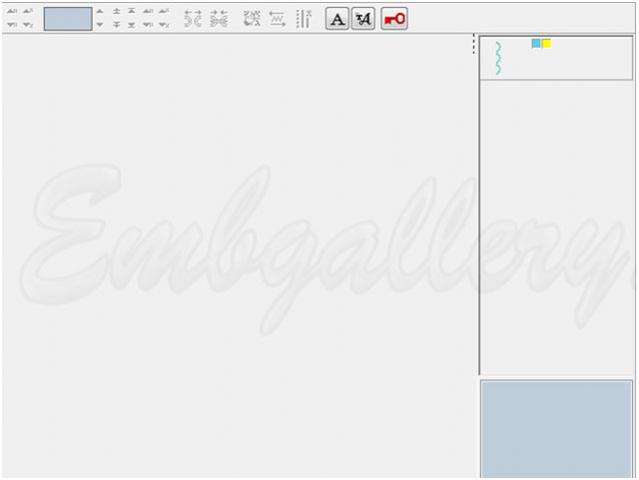 As a result, we have a design in which all the flowers will be embroidered at first and only than all the centers.
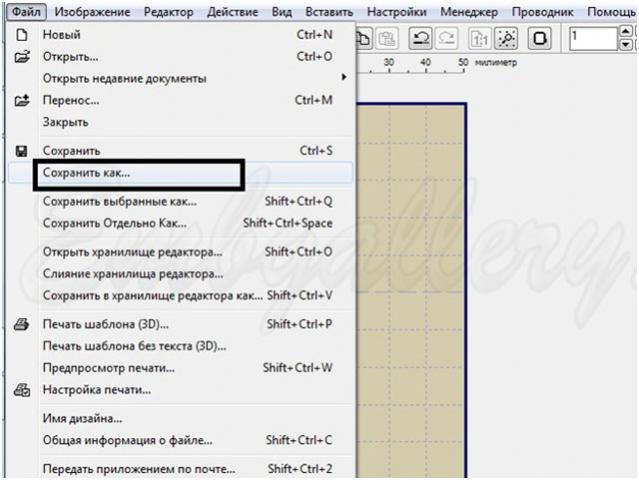 It remains only to save our border. Open "File" menu, pick "Save As..."
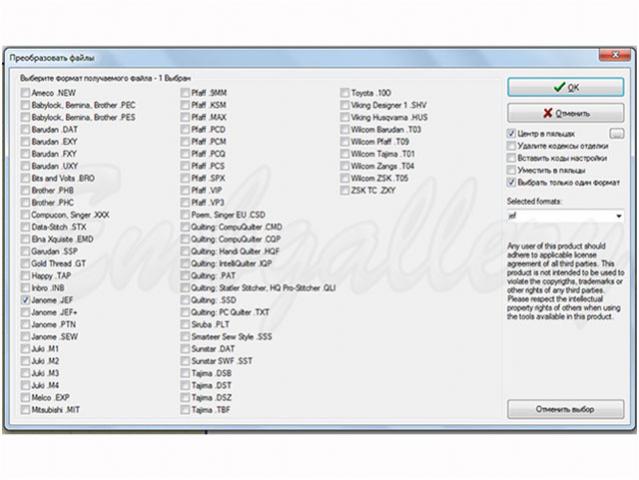 You will find the format which your machine reads in the list of formats, for example it's JEF and than you should put a tick near it. Also tick "Center in hoops" so your design will be saved right in the center of hoops.
 Save the design under a new name, so to remain the original which you used for creating a bordure the same.